Ultimate Guide: Cleaning Your Home Before Move-Out Day
Posted on 10/06/2025
Ultimate Guide: Cleaning Your Home Before Move-Out Day
Moving out of a home can be both exciting and overwhelming. Between packing boxes, saying your goodbyes, and managing your logistics, it's easy to overlook one of the most critical tasks: cleaning your home before move-out day. Whether you're moving out of a rental apartment or selling a house, leaving the space pristine is crucial for getting your deposit back, satisfying your landlord, or impressing the next owners.
In this ultimate guide, you'll find comprehensive, step-by-step tips on how to deep clean your home before you move out. We'll cover everything from creating a cleaning checklist to tackling specific rooms, offer expert cleaning strategies, suggest eco-friendly and DIY solutions, and answer common questions about move-out cleaning. By the end of this article, you'll be ready to leave your old home sparkling!
Why is Move-Out Cleaning Important?
Cleaning your home before moving out serves several crucial purposes:
- Get Your Security Deposit Back: Landlords are more likely to refund your entire deposit if your apartment is as clean as when you moved in.
- Positive Reference: Leaving your rental spotless can put you in good standing for references on future rentals.
- Sell Faster: If you're selling, a clean home makes for better viewings and listing photos, potentially leading to a quicker sale.
- Responsibility: It's simply good etiquette to make the moving transition easier for the next inhabitants.
Ultimately, thorough move-out cleaning protects your investment and reputation while ensuring a smooth and respectful handover.
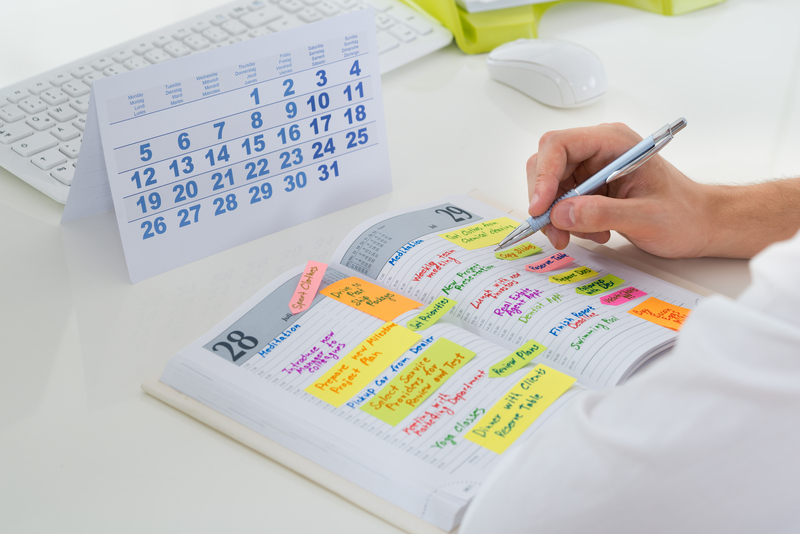
Move-Out Cleaning Checklist: Don't Miss a Spot
Before diving in, organize your cleaning process:
- Gather Supplies: Stock up on essential cleaning products and tools such as all-purpose cleaners, sponges, microfiber cloths, mop, vacuum, broom, dusters, and trash bags.
- Pack First: It's easier to clean your home before moving out once your belongings are out of the way.
- Create a Room-by-Room Plan: Check your lease or sale agreement for any specific requirements.
- Reserve Time: Schedule enough time for deep cleaning, especially in kitchens and bathrooms.
Ultimate Move-Out Cleaning Essentials
- All-purpose cleaner
- Disinfectant wipes or spray
- Glass cleaner
- Baking soda and white vinegar (for eco-friendly cleaning)
- Scrub brushes
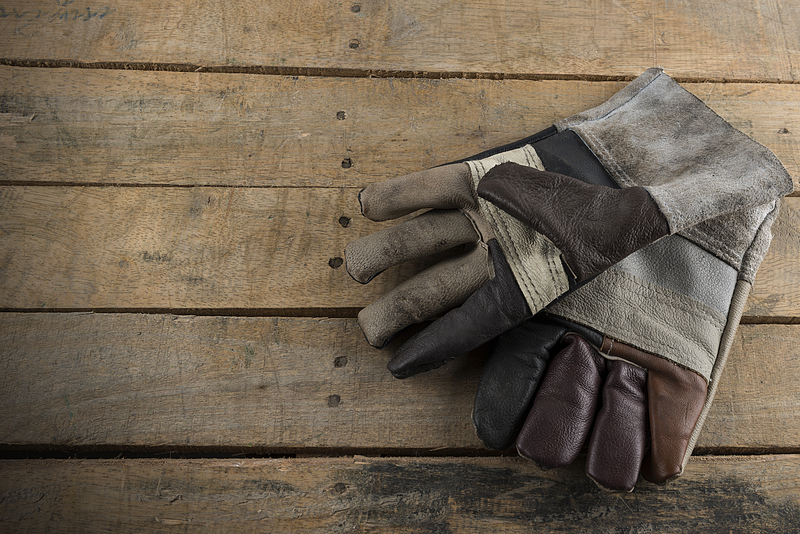
- Rubber gloves
- Trash bags
- Vacuum and mop
Now, let's break down each area of your home for maximum cleaning efficiency.
Step-By-Step Move-Out Cleaning Process
1. Kitchen
The kitchen is often scrutinized the most during a move-out inspection. Follow these steps for a thorough clean:
- Clear Out Cabinets and Pantry: Remove all food and shelf liners. Wipe the inside and outside of cabinets and drawers with an all-purpose cleaner.
- Clean Appliances:
- Refrigerator: Defrost if necessary. Remove all items, wipe down shelves and interior with a mild cleaner or a mixture of vinegar and water.
- Oven and Stove: Remove racks and soak them. Use a degreaser or baking soda paste for stubborn stains. Don't forget stovetop burners and knobs.
- Microwave: Heat a bowl of water and vinegar for 3 minutes; wipe built-up grime from walls and ceiling.
- Dishwasher: Run an empty cycle with a cup of white vinegar placed on the top rack.
- Wipe Countertops and Backsplash: Disinfect all surfaces and remove any stains or residue.
- Sinks and Faucets: Scrub sinks with baking soda and rinse. Polish faucets with a microfiber cloth.
- Floor: Sweep, mop, and pay extra attention to edges and corners where grime accumulates.
2. Bathrooms
Bathrooms require a deep, disinfecting clean for a great move-out inspection:
- Shower & Bathtub: Spray with bathroom cleaner or use baking soda and vinegar for soap scum. Scrub tile grout and rinse thoroughly.
- Toilet: Use disinfectant inside the bowl, scrub, and wipe all external surfaces, including behind the toilet.
- Sinks & Countertops: Remove any build-up and polish faucets.
- Mirrors: Clean with a streak-free glass cleaner or a vinegar-water mixture.
- Cabinets & Drawers: Empty, wipe clean, and disinfect surfaces.
- Floors: Sweep, mop, and sanitize.
3. Living Areas & Bedrooms
These spaces are less demanding, but thoroughness is key:
- Dust All Surfaces: Including baseboards, window sills, light fixtures, and ceiling fans.
- Spot Clean Walls: Remove scuff marks with a damp sponge or magic eraser.
- Closets: Remove all items, dust shelves and handles, vacuum the floor.
- Windows: Clean glass and wipe down window frames and tracks.
- Floors: Vacuum carpets thoroughly, or mop hardwood/tile floors.
4. Final Touches
- Take Out the Trash: Remove all garbage from the premises.
- Check for Forgotten Items: Look inside drawers, cabinets, appliances, and behind doors.
- Walk Through: Do a final walk-through to ensure you didn't miss anything.
Expert Tips and Pro Cleaning Hacks
- Work Top to Bottom: Clean high surfaces first, so dust and debris fall to the ground, then finish with the floors.
- Use Microfiber Cloths: These are effective for trapping dust and leave surfaces streak-free.
- Natural Cleaners: White vinegar and baking soda work wonders for eliminating odors and tough stains.
- Steam Cleaning: Consider renting a steam cleaner for carpets or floors for a truly deep clean.
- Don't Forget Air Vents: Dust and wipe out grates to improve air quality for new residents.
Quick Fixes for Last-Minute Cleaning Emergencies
- Magic Erasers: Great for wall scuffs, stubborn stains, and marks on baseboards.
- Lint Rollers: Quickly pick up pet hair and debris from upholstery or carpets.
- Lemon Juice: Use for deodorizing the garbage disposal and getting rid of hard water spots.
Eco-Friendly and DIY Move-Out Cleaning Solutions
Want to avoid harsh chemicals?
Try these eco-friendly cleaning recipes:
- All-Purpose Cleaner: Mix one part vinegar with one part water, and add a few drops of your favorite essential oil for a pleasant scent. Use on counters, appliances, and glass.
- Natural Scrub: Sprinkle baking soda on sinks and tubs. Scrub with a damp sponge for a chemical-free deep clean.
- Lemon Polish: Rub half a lemon on water spots or mineral deposits, then rinse and buff for shine.
These solutions not only keep your home free of toxins but are also budget-friendly for your move.
What Landlords, Realtors, and Inspectors Look For During Move-Out Cleaning
Understanding expectations helps you prioritize. Most move-out inspections focus on:
- Floors: Must be vacuumed and free of stains or pet hair.
- Walls and Baseboards: Should be clean and free of scuffs or excessive nail holes.
- Appliances: Especially the oven, fridge, and microwave--these should be spotless and odor-free.
- Bathrooms: Showers, toilets, and sinks should be disinfected and polished.
- Lighting Fixtures and Switches: Remove dust and dirt from these commonly neglected areas.
- Windows and Doors: No fingerprints, dust, or cobwebs.
Pro Tip: Take before-and-after photos once you finish your move-out cleaning. This provides proof of your hard work if any disputes arise.
Should You Hire a Professional Move-Out Cleaning Service?
Depending on your schedule and budget, you might consider hiring a professional move-out cleaner. Here's what to consider:
- Time Savings: If you're short on time, professionals guarantee a detailed cleaning in less time.
- Move-Out Guarantee: Some services offer a satisfaction guarantee or will return to address missed spots if the landlord is not satisfied.
- Cost: Expect to spend between $150 and $400 depending on your location and home size.
If you choose to DIY, this ultimate cleaning guide ensures you won't miss a detail!
Additional Move-Out Cleaning Tips for Renters and Homeowners
- Review Your Lease: Check for specific cleaning requirements, such as carpet steaming or professional cleaning receipts.
- Enlist Help: Rope in friends or family to split chores and finish faster.
- Don't Overlook Outdoor Spaces: Sweep porches, patios, balconies, and clean outdoor lights and windows if applicable.
- Pet Owners: Pay extra attention to fur, litter boxes, and stain removal to prevent charges.
- Give Yourself Enough Time: Rushing leads to overlooked spots; allot extra time for unexpected messes.
What to Leave and What to Take When Moving Out
Unless your lease or sale contract specifies otherwise, you should:
- Take all personal belongings, furniture, and decor.
- Leave behind installed appliances, curtain rods, and any fixtures that were present when you moved in.
- Dispose of all trash, food, and perishables.
Check with your landlord or real estate agent for guidance on disputed items.
Commonly Missed Spots During Move-Out Cleaning
Don't let these often-overlooked areas ruin your move-out inspection:
- Top of cabinets and shelves
- Inside drawers and behind furniture
- Ceiling fans and light fittings
- Air vents and HVAC filters
- Behind and underneath appliances
- Closet shelves and rails
- Door frames and door tops
- Garage and storage spaces
Frequently Asked Questions About Cleaning Your Home Before Moving Out
Do I need to hire a professional cleaner to get my deposit back?
No, but the property must meet the cleaning standards set in your lease. If you stick to this comprehensive move-out cleaning checklist, you can save money and still secure your deposit.
How long does move-out cleaning take?
It depends on the size and condition of the home. Studio apartments may take a few hours, while a large house could require a full day or more. Packing ahead and enlisting help will speed up the process.
What cleaning supplies are essential?
At a minimum: all-purpose cleaner, disinfectant, glass cleaner, sponges, microfiber cloths, mop, vacuum, and trash bags. Natural alternatives like vinegar and baking soda are great substitutes for chemical products.
Do I need to clean carpets professionally?
Some leases require a receipt for professional carpet cleaning. If not, a deep vacuum and spot treatment usually suffice. Check your agreement!
Can I leave items for the next tenant?
Only with landlord permission. Unwanted items may be considered junk and incur removal fees, so it's safest to remove everything that wasn't originally included with the rental.
Conclusion: Make Your Move-Out Stress-Free with Expert Cleaning
Cleaning your home before move-out day isn't just about ticking boxes--it's about leaving on good terms, maximizing your deposit refund, and ensuring peace of mind as you head to your new place. With this ultimate move-out cleaning guide, you have all the tools and tips at your disposal to make the process manageable, efficient, and eco-friendly.
Refer to this move-out cleaning checklist to make sure you don't miss a spot. Leave your old space better than you found it, and start the next chapter of your life with a fresh, clean slate!
Latest Posts
Master the Art of Stress-Free House Moving
Master the Art of Packing for a Seamless Move
Ultimate Guide: Cleaning Your Home Before Move-Out Day


